Napkin Presentation Ideas: Simple Folds and Placements
Five easy napkin presentations with numbered steps, from a plain rectangle to a loose knot, plus where the napkin goes and which folds suit cloth or paper.
At a glance
- Difficulty
- Easy
- Time
- About 1 minute per napkin after the first
- Best for
- Everyday dinners, dinners with friends and holiday meals
- Table type
- Any table; the tucked band suits a bare table without a cloth
What you need
- Cloth or paper napkins, one per seat
- Iron for cloth napkins
- Napkin rings, ribbon or twine
- Small leafy sprigs (optional)
- Flatware for the pocket fold
Of everything at a place setting, the napkin is the easiest piece to change and the first one a guest touches. Good napkin presentation does not depend on swans or fans that take ten minutes each. It depends on a clean fold, a deliberate position and the same treatment repeated at every seat.
The five presentations here each take under a minute per napkin once you have done one. Pick a single style for the whole table; repetition is what makes it look planned.
Cloth or paper: which folds suit each
Cloth napkins drape, knot and gather, so they can do all five presentations. Linen and cotton with a little body hold a fold best. Very thin or slippery fabrics slide out of rings and pockets.
Paper napkins hold crisp, flat folds well and nothing else. Use them for the rectangle and the pocket. They tear when knotted and crumple when pulled through a ring. Thicker, cloth-like paper napkins behave somewhere in between and are a good match for a casual table.
Size and pressing
A cloth dinner napkin is commonly about 18 to 20 in (45 to 50 cm) square, and that size suits every fold below. Smaller lunch napkins, around 16 in (40 cm), are fine for the rectangle and the ring but come up short for a knot.
Press cloth napkins flat before you fold. A crease in the wrong place shows more than you expect, and a pressed napkin folds square in half the time. If you like a relaxed look, skip the iron entirely and choose the knot or the ring, where soft wrinkles look intentional. The half-pressed middle ground is the one to avoid.
Five presentations, step by step
1. The plain rectangle beside the fork
- Lay the napkin flat with the hemmed side facing up.
- Fold it in half, then in half again to make a square.
- Fold the square in half once more to make a tall rectangle.
- Place it to the left of the fork with the folded edge toward the plate, or lay the fork on top of it.
2. The pocket that holds flatware
- Fold the napkin into quarters to make a square, with the four loose corners at the top right.
- Take the top layer only and fold its corner down to the bottom left corner, making a diagonal band.
- Turn the napkin over, keeping the loose corners at the top.
- Fold the left third toward the middle, then the right third over it.
- Turn it back over. Slide the fork and knife into the diagonal pocket and set it on the plate.
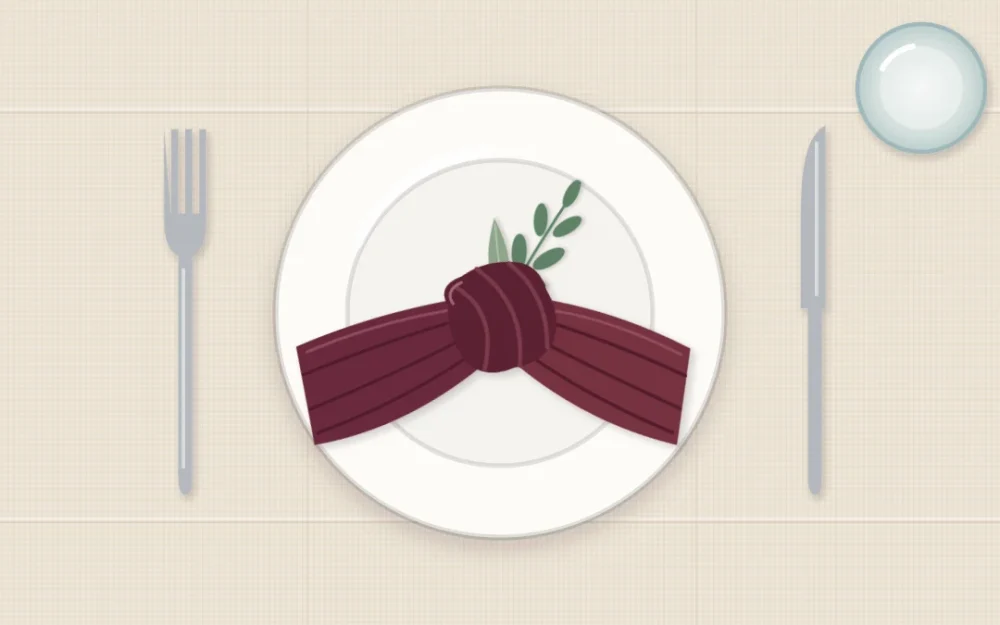
3. The loose knot on the plate
- Lay the napkin flat like a diamond, with one corner pointing toward you.
- Roll or gather it loosely from that corner to the opposite one, making a long soft band.
- Tie one overhand knot in the middle and stop before it tightens.
- Fluff both ends and lay the knot on the center of the plate, with the ends at a slight angle.
4. Pulled through a ring
- Lay the napkin flat and pinch it at the exact center.
- Lift it so the corners hang down, and smooth it once with your other hand.
- Slide the ring up from the pinched point to about a third of the way along.
- Spread the top into a soft puff, let the tails fall, and lay it on the plate or just above it.
5. Tucked under the plate, hanging over the edge
- Fold the napkin in thirds lengthwise to make a long band.
- Lay the band where the plate will go, running toward the table edge, with roughly a third of it hanging over.
- Set the plate on top to hold it in place.
- Straighten the hanging end so it falls square to the edge.
Keep the overhang short, so no one catches it with a knee, and choose a different presentation when young children who might pull on it are at the table.

Where the napkin goes
There are three common positions, and all of them are conventions you can adapt to your table:
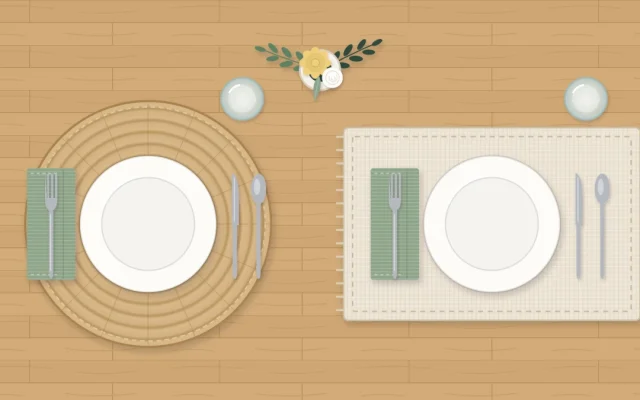
- To the left of the fork. The classic spot, and the best one when the first course is already on the plate. If the table is tight, put the napkin under the fork instead.
- On the plate. The most decorative position, and the right one for the pocket, the knot and the ring. It works whenever the plates start out empty.
- In the glass. Only if the glass is sturdy, with a wide base and straight or heavy sides. A napkin stuffed into a tall stemmed glass makes it top-heavy, so leave those empty.
Whichever you choose, face every napkin the same way and line each one up with the bottom edge of the plate or the handles of the flatware. If you want to see how the napkin fits with the rest of the setting, the basic place setting layout shows where each piece usually sits.
Tip
Fold one napkin, set it at a place, then step back to the doorway before you fold the rest. If it looks small or fussy from there, change the style now.
One small addition
A single extra on each napkin is enough to make the table feel finished:
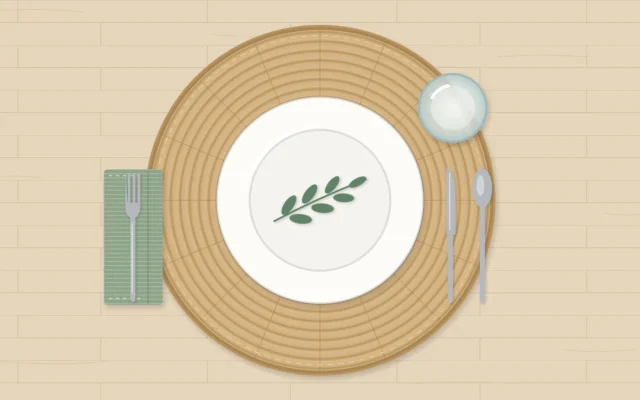
- A sprig. One short leafy stem slipped under the knot or the ring. It is decoration only, so guests set it aside before eating. If pets or children may get hold of it, check the specific plant first.
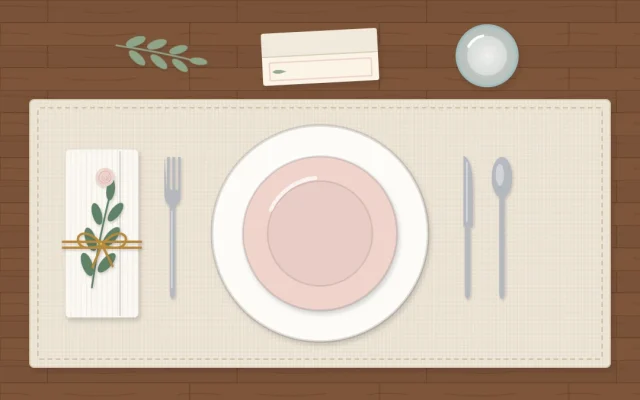
- A ribbon or twine tie. Use it in place of a ring. Wrap once, tie a simple knot and trim the ends to the same length.
- A name tag. A small card tucked into the pocket fold or tied on with the ribbon.
Choose one of these, not all three. If the napkin carries a sprig, leave the rest of the setting plain. For more ways to dress each seat, see these place setting ideas.
Match the presentation to the meal
- Weeknight dinner: the rectangle, cloth or paper.
- Buffet or outdoor meal: the pocket, so each guest picks up napkin and flatware in one hand.
- Relaxed dinner with friends: the knot in an unpressed linen napkin.
- Holiday or celebration: the ring with a single sprig.
- Bare wooden table with no cloth: the tucked band, which adds a strip of color at every seat.
Napkin color in ten seconds
If the plates are plain, let the napkin carry the color: one strong shade repeated at every seat. If the plates or the cloth are patterned, choose a solid napkin in the quietest color from that pattern. White and natural linen go with everything and are the fallback when you cannot decide.
Frequently asked questions
What is the easiest way to present a napkin?
The plain rectangle. Fold the napkin in half twice to make a square, fold once more into a tall rectangle and place it to the left of the fork or under it. It works with cloth or paper, takes seconds and looks neat when every napkin faces the same way.
Does the napkin go on the left or on the plate?
Either. Placing it to the left of the fork is a common convention and practical when the first course is already on the plate. Setting it on an empty plate is more decorative and suits knots, rings and pockets. Choose one position and repeat it at every seat.
Can I use paper napkins for a nice dinner?
Yes. Choose a thicker paper napkin in a solid color and keep to crisp, flat folds such as the rectangle or the flatware pocket, which paper holds well. Avoid knots and rings, because paper tears or crumples. Lining every napkin up the same way matters more than the material.